I just fixed the way my website looked on mobile.
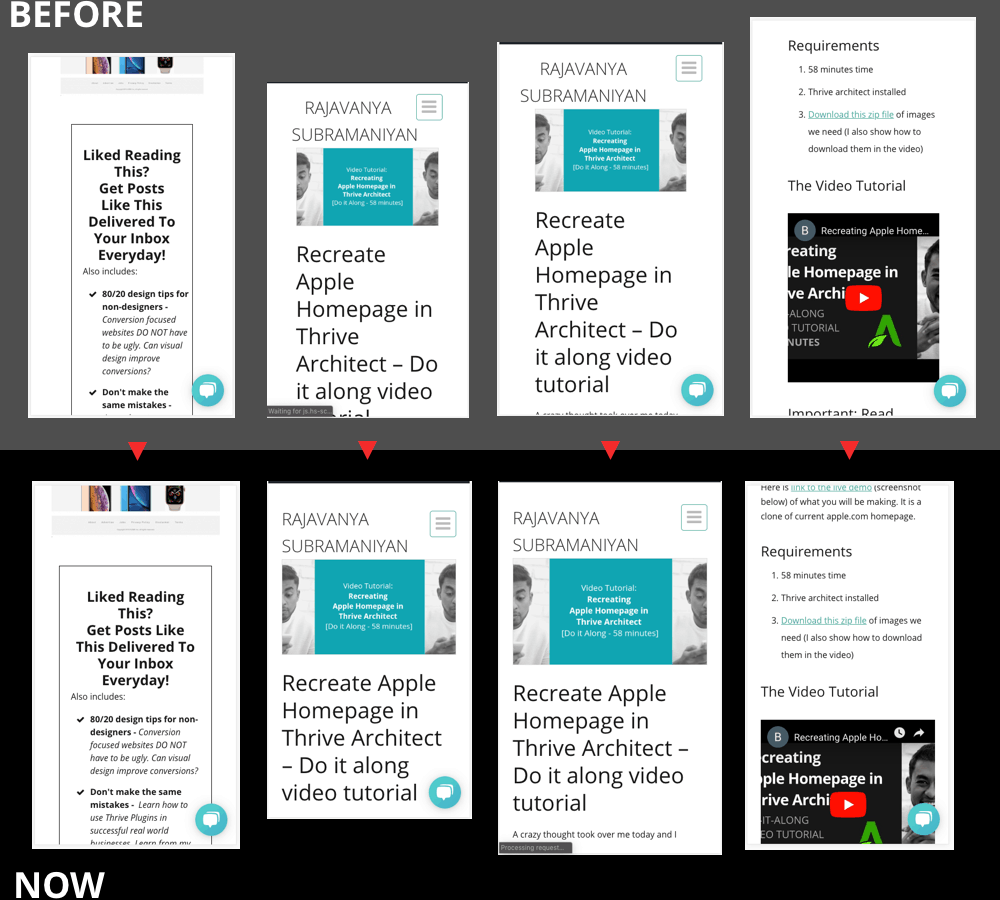
Even though I don’t recommend the thrive themes’ themes, I started this website long before I learnt that. So naturally I went with the theme I liked best – Minus. I love the minimal look which puts all focus on the content. But I’ve always hated the way it looked on mobile – too narrow, too much spacing on left and right, the top text logo part alignment looked broken
Try your website on mobile too, especially the non-thrive-architect content pages.
Anyways I fixed it with a bunch of CSS and spending quite a bit of time. I think the result though minimal, is worth it and gives a better experience for mobile readers.
Below is the image showing the change and the CSS I used to fix it.
CSS to fix it
/* mobile fix for header*/


@media only screen and (max-width: 540px)
{
.wrp {
width: auto;
padding: 0px 25px;
text-align: left;
}

@media only screen and (max-width: 540px)
{
.wrp .bpd {
width: auto;
}


@media only screen and (max-width: 380px)
{
.wrp {
width: auto;
padding: 0 25px;
text-align: left;
}

@media only screen and (max-width: 380px)
{
.wrp .bpd {
width: auto;
}

@media only screen and (max-width: 380px)
{
header #logo, header #text_logo {
margin-left: 0;
}

@media only screen and (max-width: 380px)
{
header .hmn {
margin-right: 0px;
margin-top: 10px;
}
How to Use
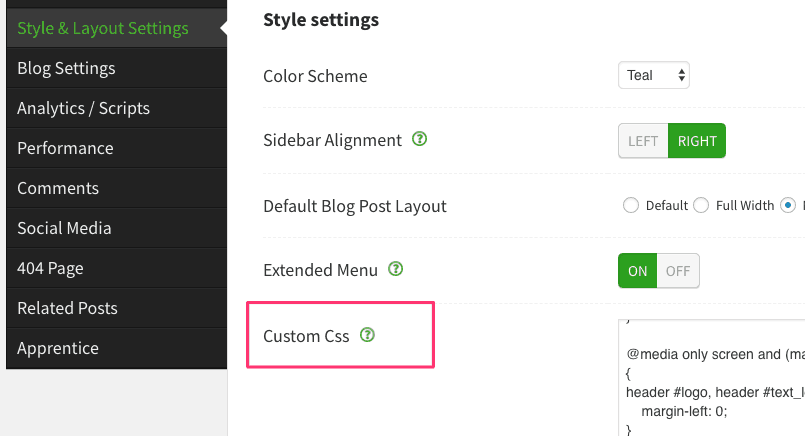
Paste the code inside Thrive Dashboard > Theme options > Style and Layout settings > Custom CSS
Word of Warning
This isn’t the most important thing to focus on if your website is new and you are still validating your funnel/products. I have been running this site without this optimisation for long time and I still managed to gather readers/email subscribers. This can be part of improving after all important basic work is done.
Additional Tip
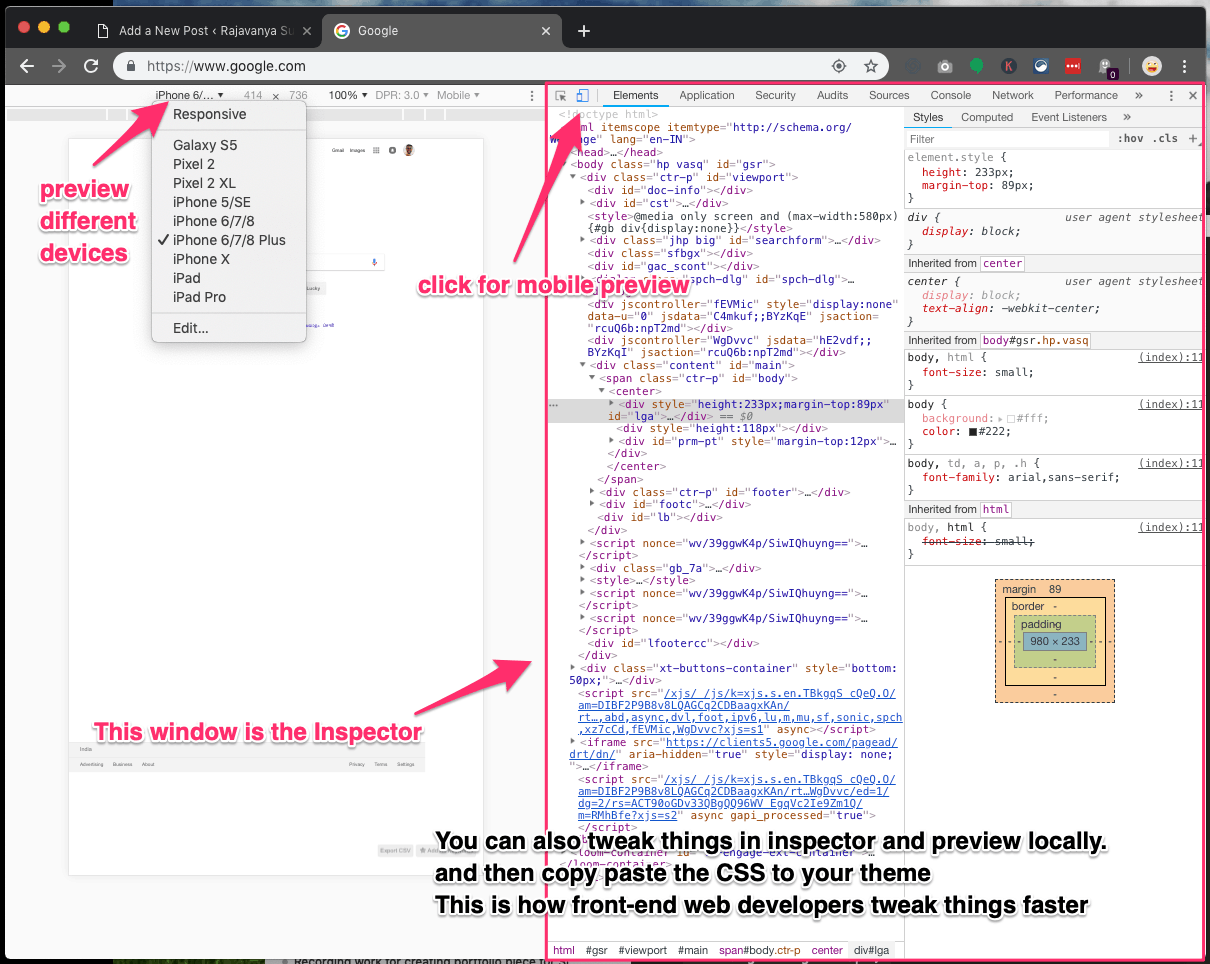
The above screenshots were taken in Chrome. Did you know you can mobile preview any website in Chrome?
- You just have to right-click on any page first.
- Select “Inspect”
- In the new Inspector window that opened up, click on the tiny icon on the top-left (screenshot below)